
I made it all up on my own and maybe next time (if there is a next time), I'll make the letters bigger. I made the letters in Microsoft Word (arial black) and then cut them out, traced them (backwards) onto the maroon fabric and then cut them out. I cut the background piece to be 5x14 and stitched the letters to the bottom half of the fabric. I have never really been taught how to stitch and move things at the same time so the stitching on the letters looks a little funny on some of them (just makes it look more homemade). Then I folded the pieces right sides together and stitched around the three sides leaving a little space at the top of the sides to turn them the right way and also to hang them. I didn't have to stitch the top since it was just folded over. They turned out pretty good. I made a blank one so that I can put numbers on there...maybe with velcro or something, I haven't thought that one all the way through yet. Any suggestions?
Greg helped me hang the banner (not knowing it was for his surprise party) by putting two hooks in the wall so I could attach the ribbon. I'm excited about these hooks because I plan on putting ribbon and some clothes pins there to hang art work or photos when it's not someone's birthday!
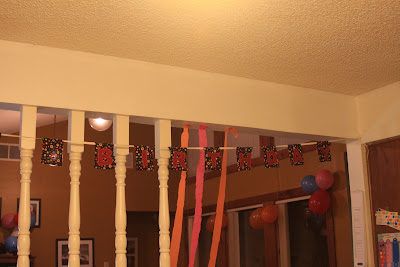
It's hard to get a good picture of the banner because it's not hanging in front of a blank wall. But I think you get the idea.

 A little more detailed.

Post a Comment